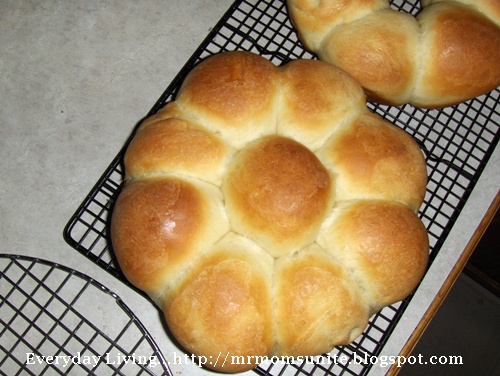
Photo of one pan of rolls after baking (using milk wash)...
Now, I've bored you enough, so on to the recipe...
What you need...
- Yeast... 2 ½ tsp
- Water... ½ cup (temperature roughly 105°)
- Milk... 1 cup (scalded and then cooled to same temperature as water)
- Bread flour... 3 ½ - 4 cups (amount will vary depending on humidity)
- Eggs... 2
- Butter (unsalted)... 4 Tbsp
- Honey... 4 Tbsp
- Salt... 1 - 1 ½ tsp
- Cake pans or muffin pans if you prefer... 2
Putting it together...
If you have a bread machine, it is easiest to do the kneading with that. Just set it to the "make dough" setting.
- Add water, 1 Tbsp of honey, and yeast
- Let the yeast swim around until foamy: about 5-10 minutes
- While the yeast is having a party, melt the butter
- When the yeast is foamy, add 1 cup of flour and begin mixing (or start the bread machine)
- Add milk, butter, remaining honey, eggs and salt
- Add remaining flour, ½ cup at a time
- Continue adding flour until the dough slightly tacky to the touch (you do not want an overly sticky or an overly dry dough)
- Once dough reaches the correct consistency, close the door to the bread machine and take a break. Or, if you are doing it the old fashioned way, continue kneading (on low speed) until shiny
- Let rise in a warm place until doubled: about an hour
- Once doubled, roll out onto parchment paper, shape into a log, and divide into roughly 16 pieces
- Form each piece into a ball and place in your cake pan (the rolls will rise into each other, but they are very easy to separate)
- You should be able to fit between 9 and 10 rolls in the first pan
- Cover loosely with well-oiled plastic wrap and place in a warm location (I put mine in the oven with the oven light on)
- Let rise until doubled: between 30 and 40 minutes
- To test to see if your rolls have risen enough, take your finger and make a small indentation into the side of a roll. When you remove your finger, if the indentation stays, your rolls are ready for baking. If it disappears, check again in another 5 minutes
- If you let your rolls rise too long, they may collapse on you (I know this from experience)
- Once risen, brush with milk or melted butter
- Set oven for 375°
- Bake for 15 - 20 minutes until golden brown

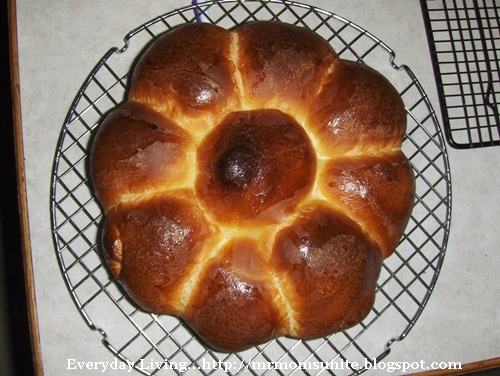
No, they are not burned and they tasted fantastic. It is just that the egg wash really browned them.
Enjoy!


Dinner rolls are my downfall. I just love them! Thanks for sharing your recipe!
ReplyDeleteMy downfall too and these look yummy!! I make home made rolls too for special occasions but my recipe doesn't have honey.
ReplyDeleteHmmm...I'll have to try that!!
Jackie:-)
They look really good!
ReplyDeleteBut Tim you never bore me :)
ReplyDeleteThose dinner rolls look delicious. Feel free to slide a plate over here with some butter
BeadedTail: We all like them too...almost like eating candy :)
ReplyDeleteShinade: This was the first time I tried it with honey and it adds just the right amount of sweetness to the roll, without being too sweet (if that makes any sense). I just finished teaching for the day, so my brain is kinda fried :)
Boise Diva: Thank you, they are really good...especially right out of the oven with some butter :)
Ann: They are on the way :)
I like the brown-n-serve rolls you can buy at the store. Yours look good enough to eat though, I just wouldn't bother making them from scratch.
ReplyDeleteKaren & Gerard Zemek: This is like a copycat version of those. Although, the brown-n-serve are much easier to make.
ReplyDelete